Intro to Starting seeds Indoors
This blog post will be your ultimate guide to starting seeds indoors: tips for a thriving spring garden. Whether you’re a seasoned gardener or just beginning, this guide will walk you through everything you need for successful seed starting.
By late January and early February, big shops begin stocking gardening tools, seed packets, and soil mixes. Just the other day, I spotted shelves full of seeds and tools at Tesco—it’s the surest sign that seed-starting season is here… well, almost.
In this guide, you’ll learn how to:
- Choose the best seed starting mix for healthy seedlings.
- Pick essential seed-starting equipment for beginners.
- Water seeds correctly to avoid common mistakes.
- Know when and how to transplant seedlings outdoors.
We’ll also cover how to select the right seeds, the best soil and lighting conditions, and tips to maximise your garden’s growth. Even if you’re new to indoor seed starting, these simple steps will help you grow strong, thriving plants and get your garden off to a fantastic start.
Summer crops that can be started from seeds indoors:
tomatoes, peppers, cucumbers, eggplant, zucchini, melons, leek and basil
Where to get Seeds
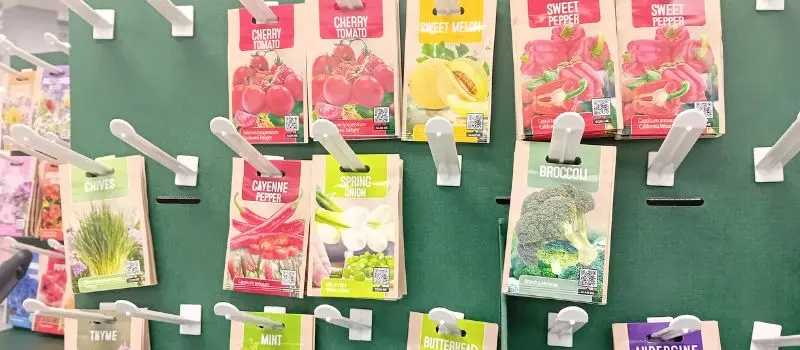
1. Supermarkets and Garden Centers
- Your local supermarket or garden center is a convenient and accessible source for seeds.
- Large chain stores often offer a wider selection of varieties.
- Generally, seeds purchased from these sources are reliable and of good quality.
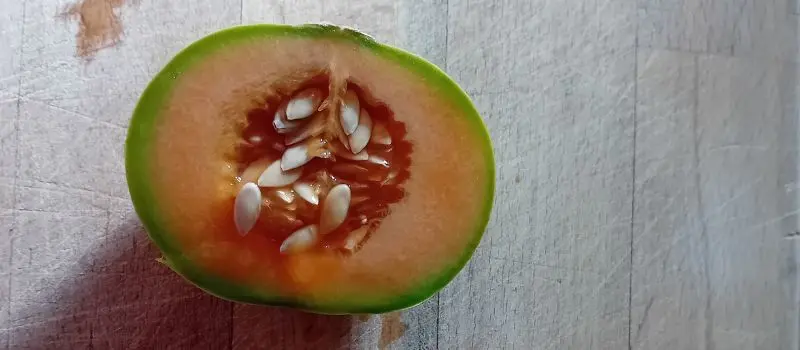
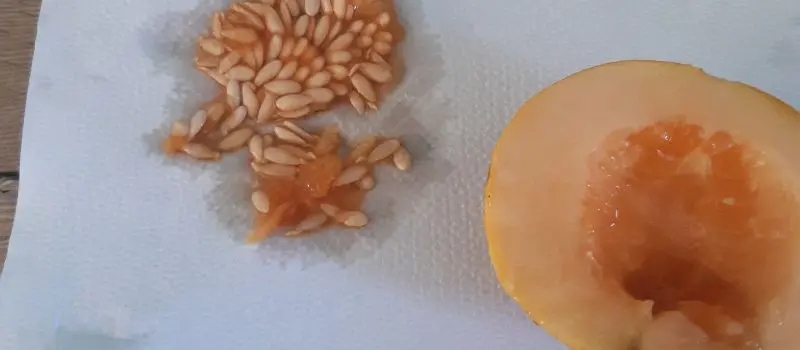
2. Saving Seeds from Food
- An alternative and personally favored method is saving seeds from your own food.
- After enjoying delicious tomatoes, simply collect the seeds on a tissue and allow them to dry.
- Store the dried seeds with a label noting the variety.
- Easily saved seeds include: tomatoes, peppers, cucumbers, zucchinis, and melons. You can see my post about planting tomatoes from seeds here: https://byannab-m.com/how-to-plant-tomatoes-from-seeds/
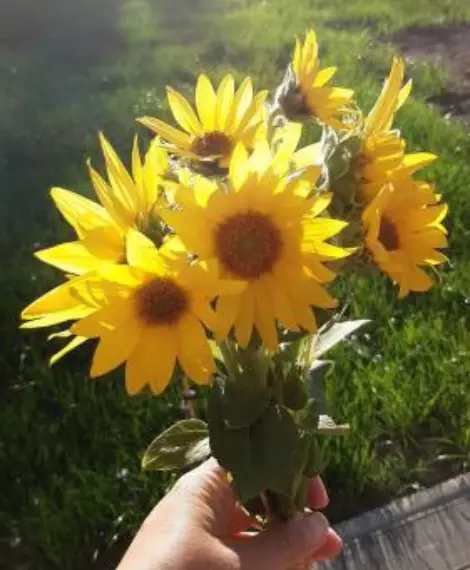
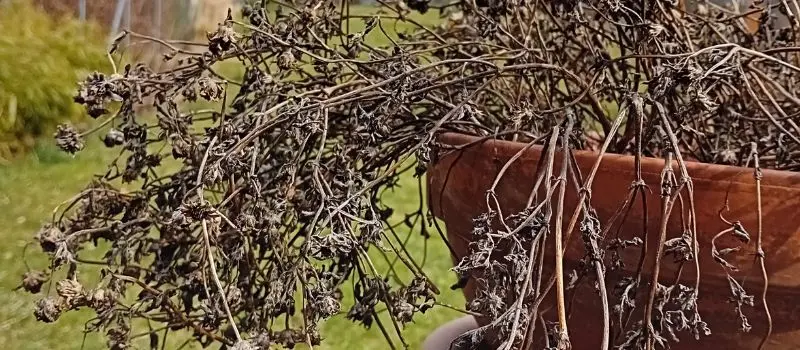
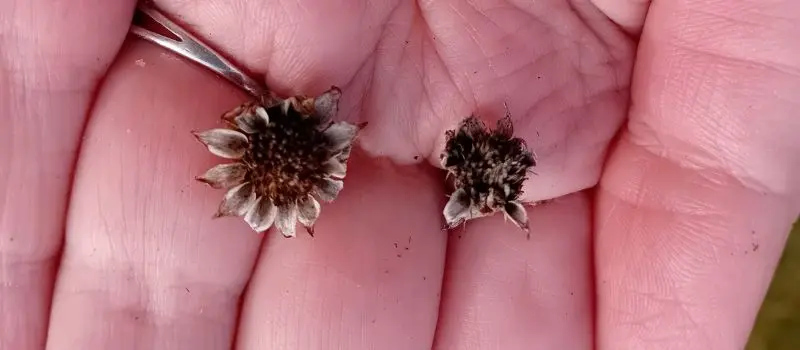
3. Saving Flower Seeds
- Many flowers produce seeds that can be collected.
- Seeds can be gathered in autumn before winter or (my preferred method) after winter, collecting what remains after the birds have fed.
- Flowers suitable for seed saving include: sunflowers, zinnias, calendulas, echinacea/coneflowers, cosmos, morning glories, and marigolds.
- I wrote a full blog post where you can see info on how to grow flowers from seeds https://byannab-m.com/grow-flowers-from-seeds/.
- Regardless if you save seeds from food or flowers below are some key seed-saving tips:
- Open-Pollinated Varieties – ideally don’t collect seeds from hybrids as they may not produce plants true to the parent.
- Dryness – ensure seeds are completely dry before storing them to prevent mould
- Storage – store seeds in a cool, dry and dark place. Paper envelopes or airtight containers work well.
- Labelling – label your seeds so that you know what you are planting when it comes to it.
4. Finding Local Seed Swaps
- Check local Facebook or social media groups for seed swap opportunities.
- Participating in seed swaps allows you to discover new varieties and connect with local gardeners.
- If no swaps are currently active, consider initiating one within your community.
5. Online Seed Retailers
- Purchasing seeds online is another option.
- Always research online retailers to ensure they are reputable sources.
F1 Hybrid Seeds
You will often see on the seeds packaging F1.
F1″ stands for “Filial 1,” meaning the first generation of offspring
These seeds are produced by intentionally cross-pollinating two genetically distinct parent plants. These parent plants are often “pure lines,” meaning they consistently produce offspring with the same traits
Benefits: increased yields, improved disease resistance and more uniform growth and appearance.
Disadvantages: Seeds saved from F1 plants will not grow true to the parent. This means you typically need to purchase new F1 hybrid seeds each year. They are also often more expensive due to the labour-intensive process of creating them.
It is up to you what seeds you will choose – I normally use a mix of F1 and standard seeds (open-pollinated varieties).
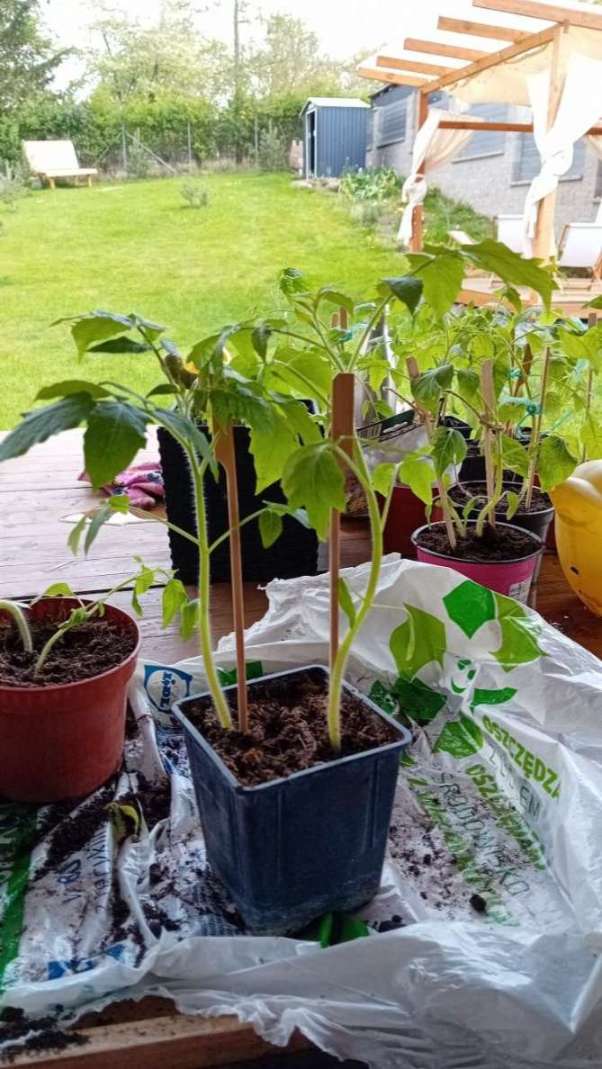
Gear Needed for Starting Seeds Indoors
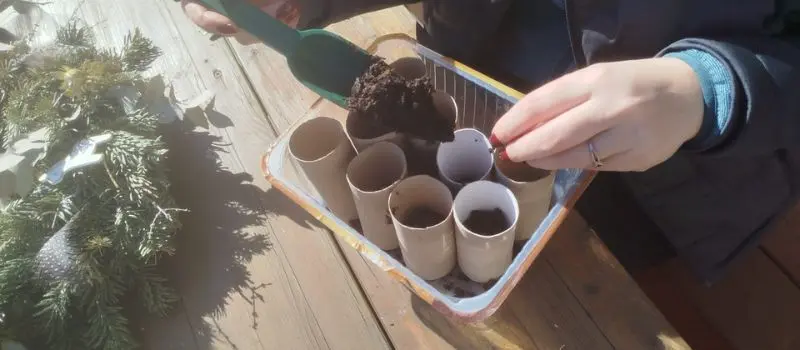
Essential Seed Starting Equipment:
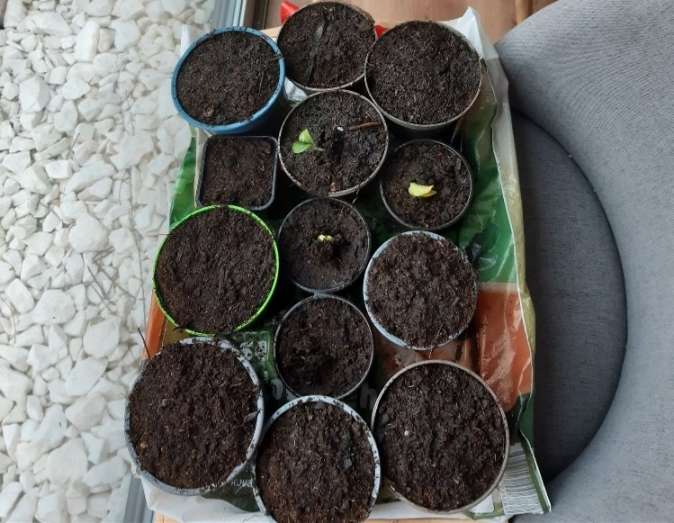
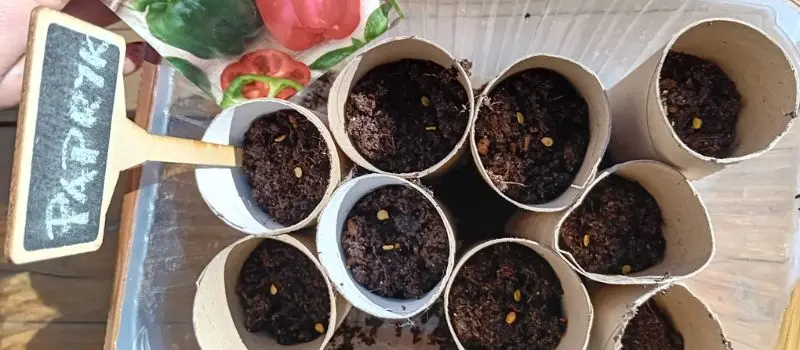
- Pots and trays – we can’t go without them. They don’t have to be brand new from a shop you can simply use the pots from previously bought seedlings or plants, and as a tray, I often use washed meat/fish trays. It all depends on your budget and what you like, but this does not have to be an expensive start.
- Good soil – seed-starting soil. Often you will see the soil already labelled as such. This soil tends to have beneficial nutrients for seeds starting.
- Watering can and spray bottle. I like to use both, you will water the seedlings into the tray (from the bottom). You may need to use a spray bottle at the beginning. If the topsoil dries out and the seed has not sprouted yet. It is important to be careful of mould here.
- Fan – to give plants a flavour of being outdoors in the wind. An old desk fan will do just fine.
Optional Seed Starting Tools:
- Heat mat – promotes faster germination and should be used in rooms cooler than 23C
- Humidity dome – maintains consistent moisture
- Plant labels – to be able to know what is it that you are growing
- Grow lights – in case you don’t have space by a sunny window. Below you can read about the alternative of a grow light – a regular lightbulb and a lamp that creates perfect conditions.

5 biggest mistakes when starting seeds indoors and what to do instead:
Mistake 1: Starting Seeds Too Early
We get excited too early and often start planting at the end of February. The truth is that we should start planting 4-6 weeks before the last frost date in our region you can check it here: https://en.wikipedia.org/wiki/Hardiness_zone
Planting seeds 12 weeks before transplanting yields large, not seedling-sized, plants.
Mistake 2: Lack of Heat
Summer seeds love warmth—around 23°C for best germination. A sunny window can work if it’s 20°C+, but garages are usually too chilly. We can only work with what we have so you may need to use another place. If you must use your garage, a heat mat and grow light are essential.
Mistake 3: Lack of light
The previous point already touched upon it. Once we give our seedlings heat, they will need sun. No lightbulb is as powerful as the sun. But again you may not have space in your home therefore a lamp will be needed. If you have some budget and want to make it easy for yourself – go ahead and buy ‘Grow Light’. If you are on a budget – go to your local DIY store and pick lighting fitting your current lamps. Bulb needs to have written on it: Lumens 1500-2000 and Kelvin 4500-6500 or word Daylight. These lightbulbs would give you the closest conditions to natural sunlight. Starting about 5cm above the pot, as the seedlings germinate you will enlarge the distance to the light. Keep them on books, bricks – whatever you have. Once you start seeing green slowly make more space between light and seedling.
If you use a professional grow light – then read the instructions on the box 😉
If you have a south-facing window that gets 6-8h of sun every day then these are the perfect conditions.
Mistake 4: Not showing them how it is in nature
Excessive care indoors can make seedlings vulnerable to outdoor conditions. When they go out to the garden they may have a shock to the system. If you have a fan – turn it lightly on every now and then (only once they are bigger e.g. 3 weeks in). In your garden they will have wind – so let’s show them already. This will make them stronger and more resilient – tough love if you prefer 😉
Mistake 5: Watering from above
Mistake that I was guilty of for years. Keep your seedlings in pots with holes, but on trays without holes and fill out trays with water. Let them drink, then empty the tray from excess water. This way helps the root grow to the bottom and not stay on the surface. It also helps with any potential fungus development – it is more likely to develop if you water from above.
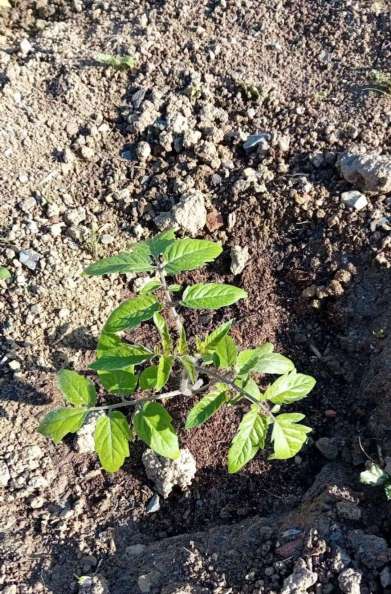
Starting seeds indoors: How to Harden Off Seedlings
Before planting the seedlings in the ultimate space in the garden, you need to harden them.
You must check your weather forecast before you start doing so. Find 3 days in a row when the weather will be very cloudy (overcast). Then bring your seedlings out for a full day, and bring them in for the night. Repeat for 3 days. Never leave them out overnight – not yet 🙂.
There is a more traditional way – but it requirers a lot of time and attention. If you have it – go for it! It would involve spacing out the process of taking seedlings out to about 7-10 days where you start slow to take them out for 1h in the shadow then back in. The next day for 2h in the shadow. Then back in. Slowly prolong the time outdoors and start exposing them to the sun.
I understand that most of us have jobs and simply can’t accommodate the traditional way of seedlings hardening. The first described solution will work just fine.
I hope this guide helps you. Seed starting can be easy. Reuse gear for sustainability. Grow your own to save money. Enjoy high-quality crops.
Leave a comment! Share your seed stories.
And then, turn off your screen. Go for a walk outside. Dream of your summer harvest!
With a love for nature,
Anna B-M